在腾讯云上部署博客 | 个人博客
本文介绍了在腾讯云上部署博客的方法。
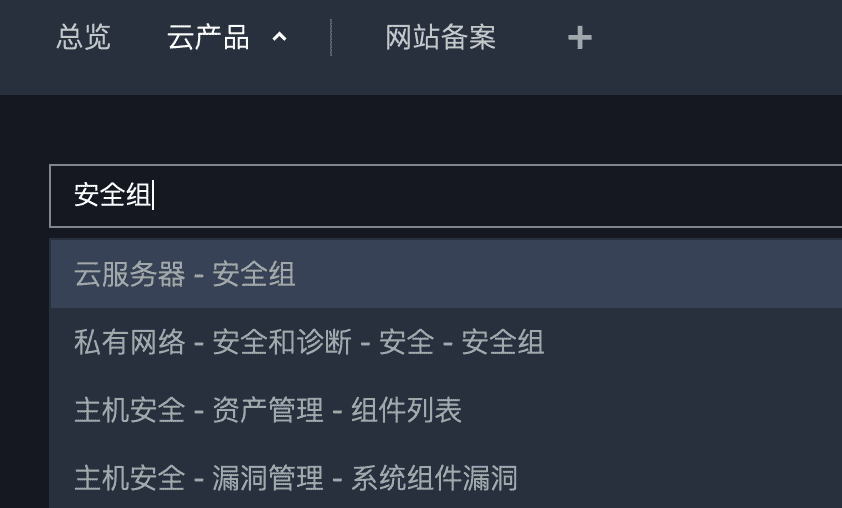
配置服务器安全策略
- 在腾讯云产品界面搜索并选择“安全组”
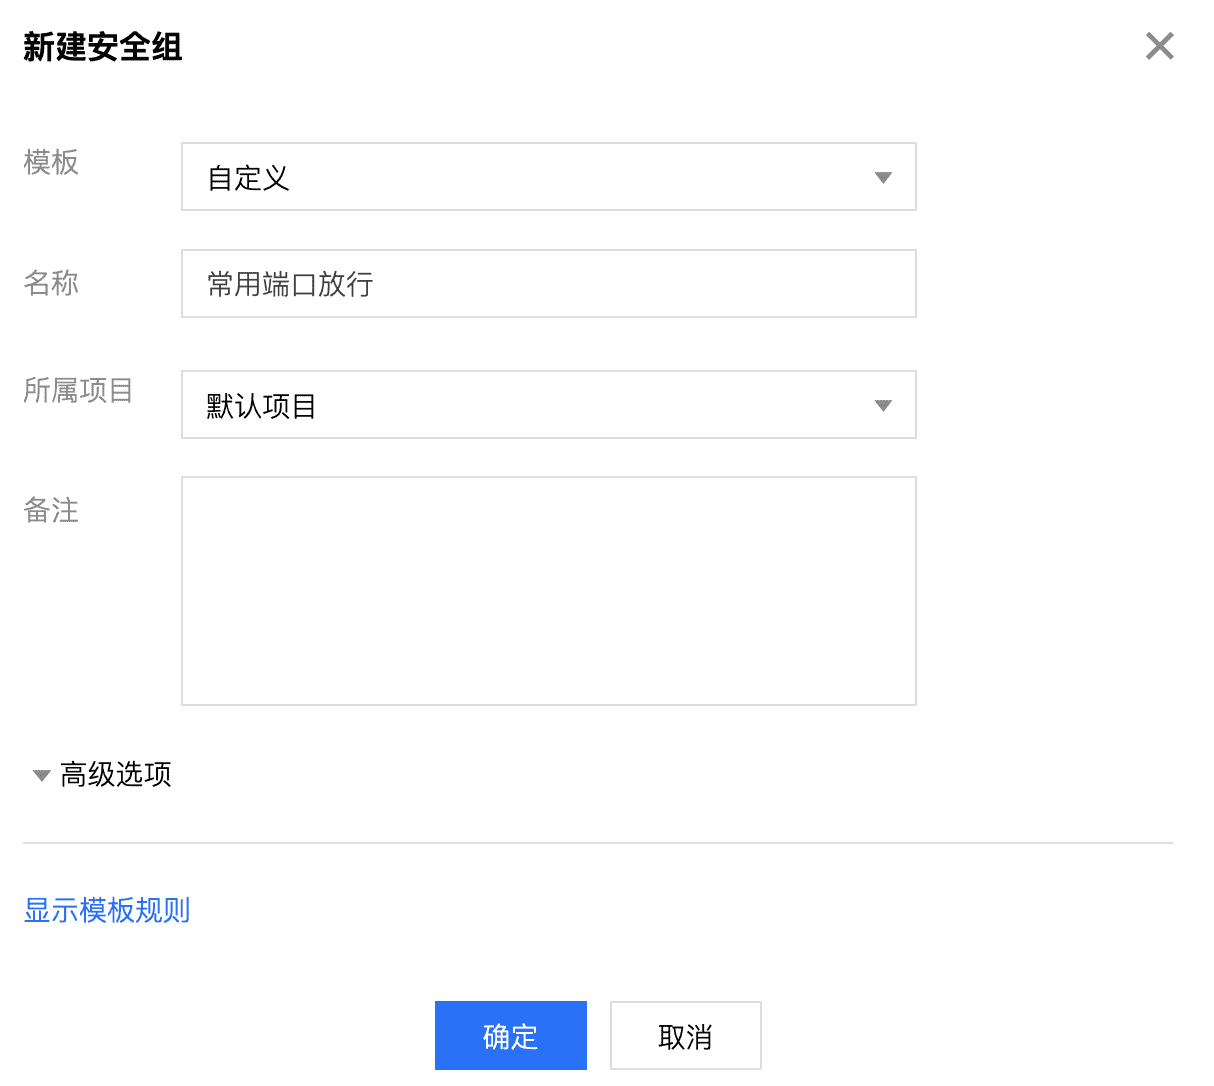
- 新建安全组
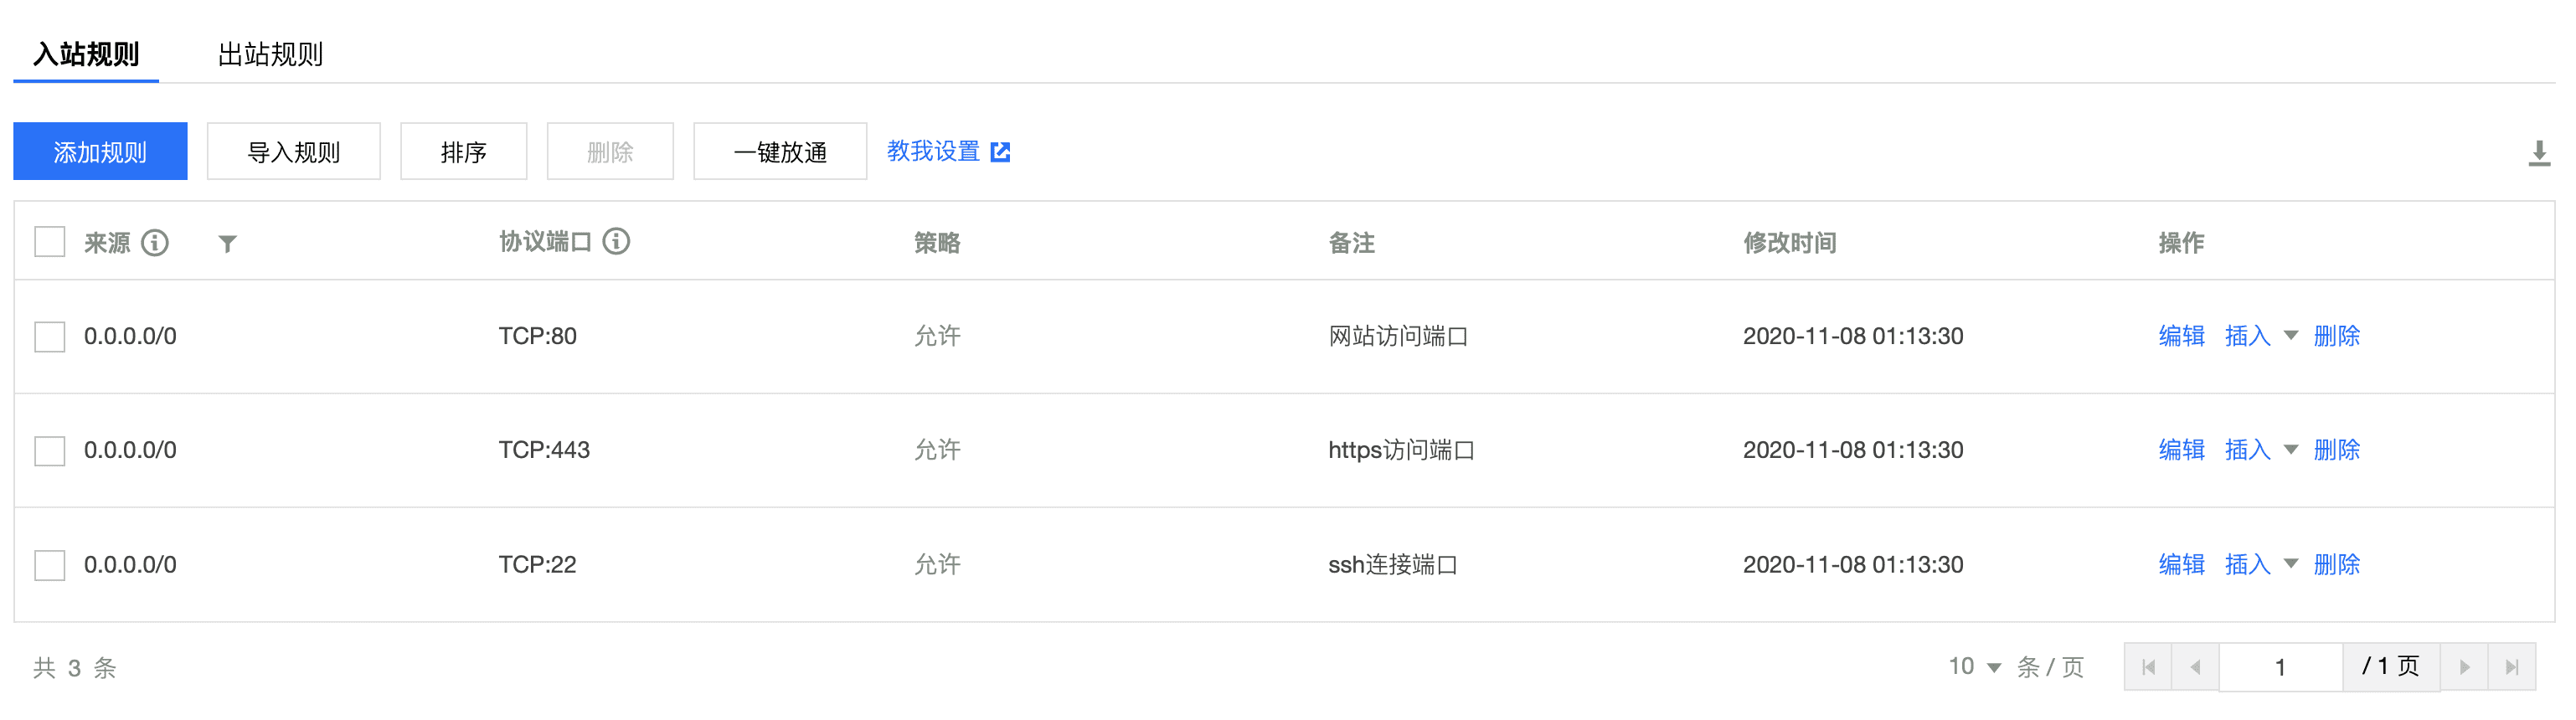
3, 添加入站规则
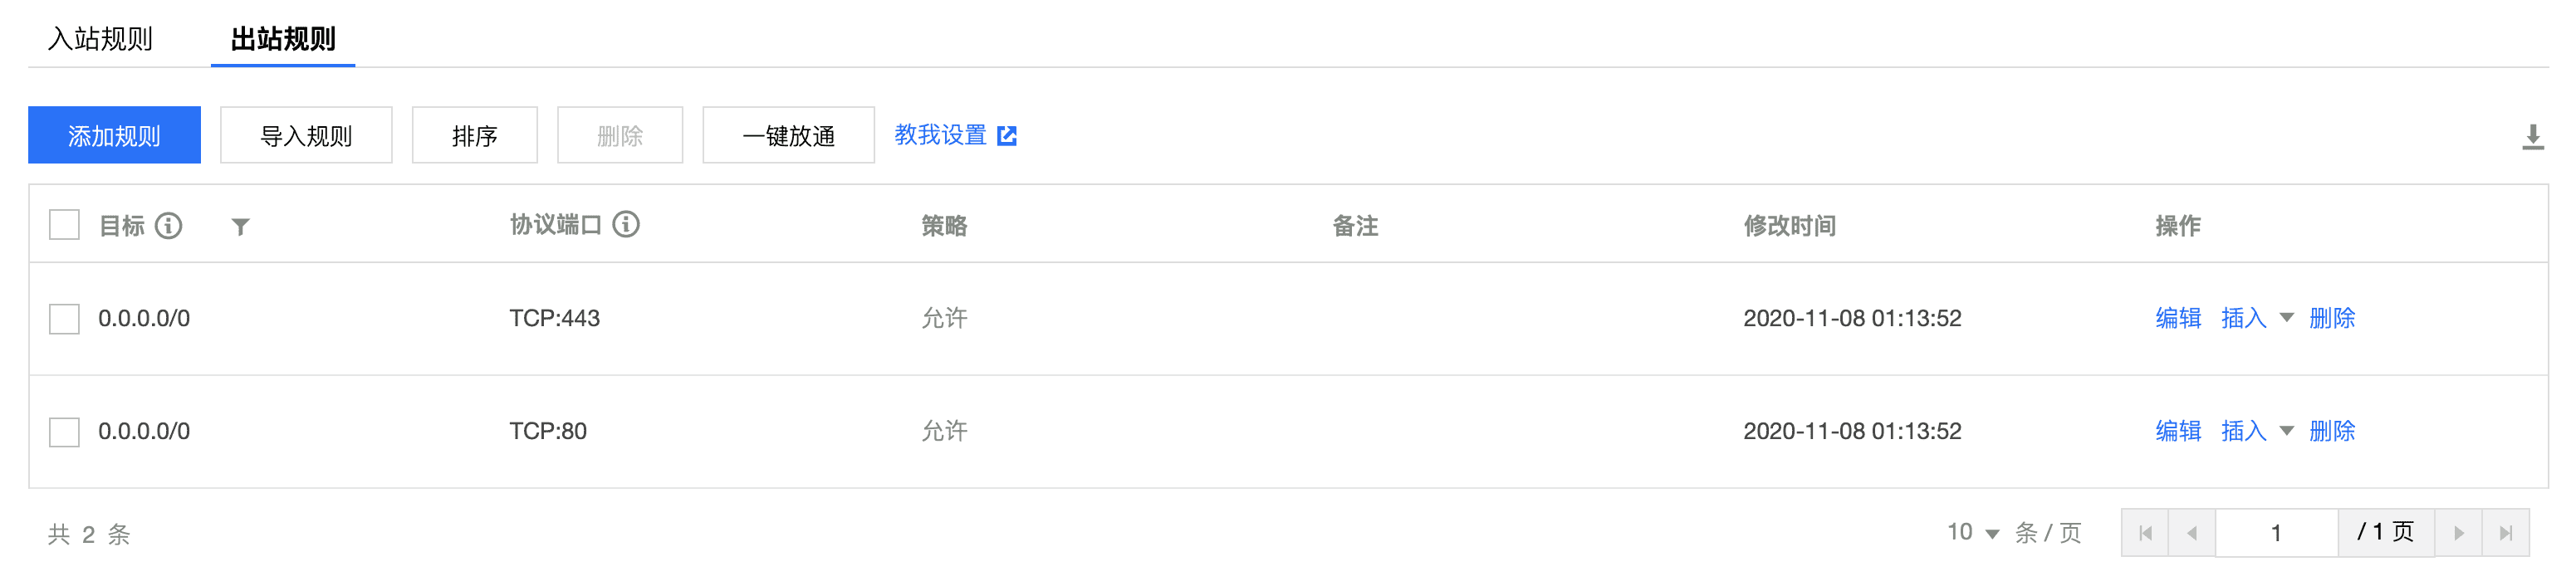
- 添加出站规则
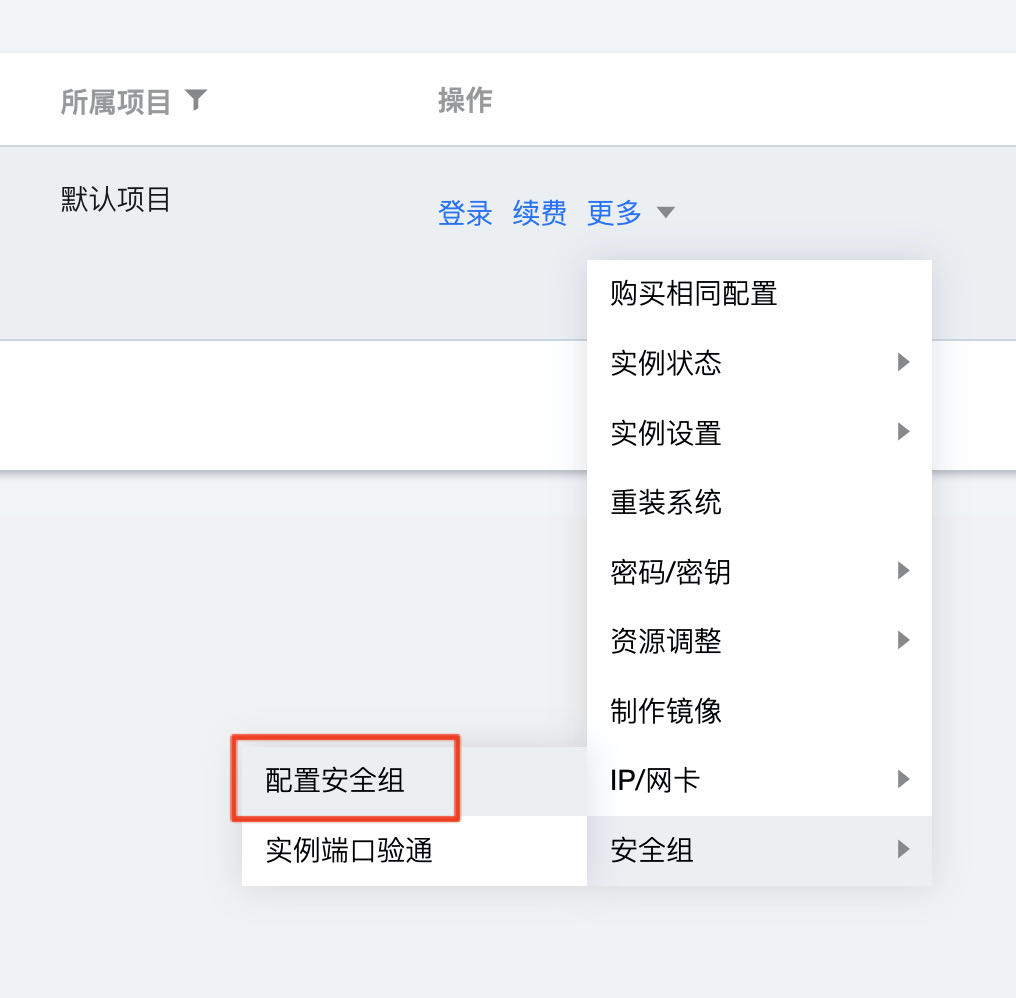
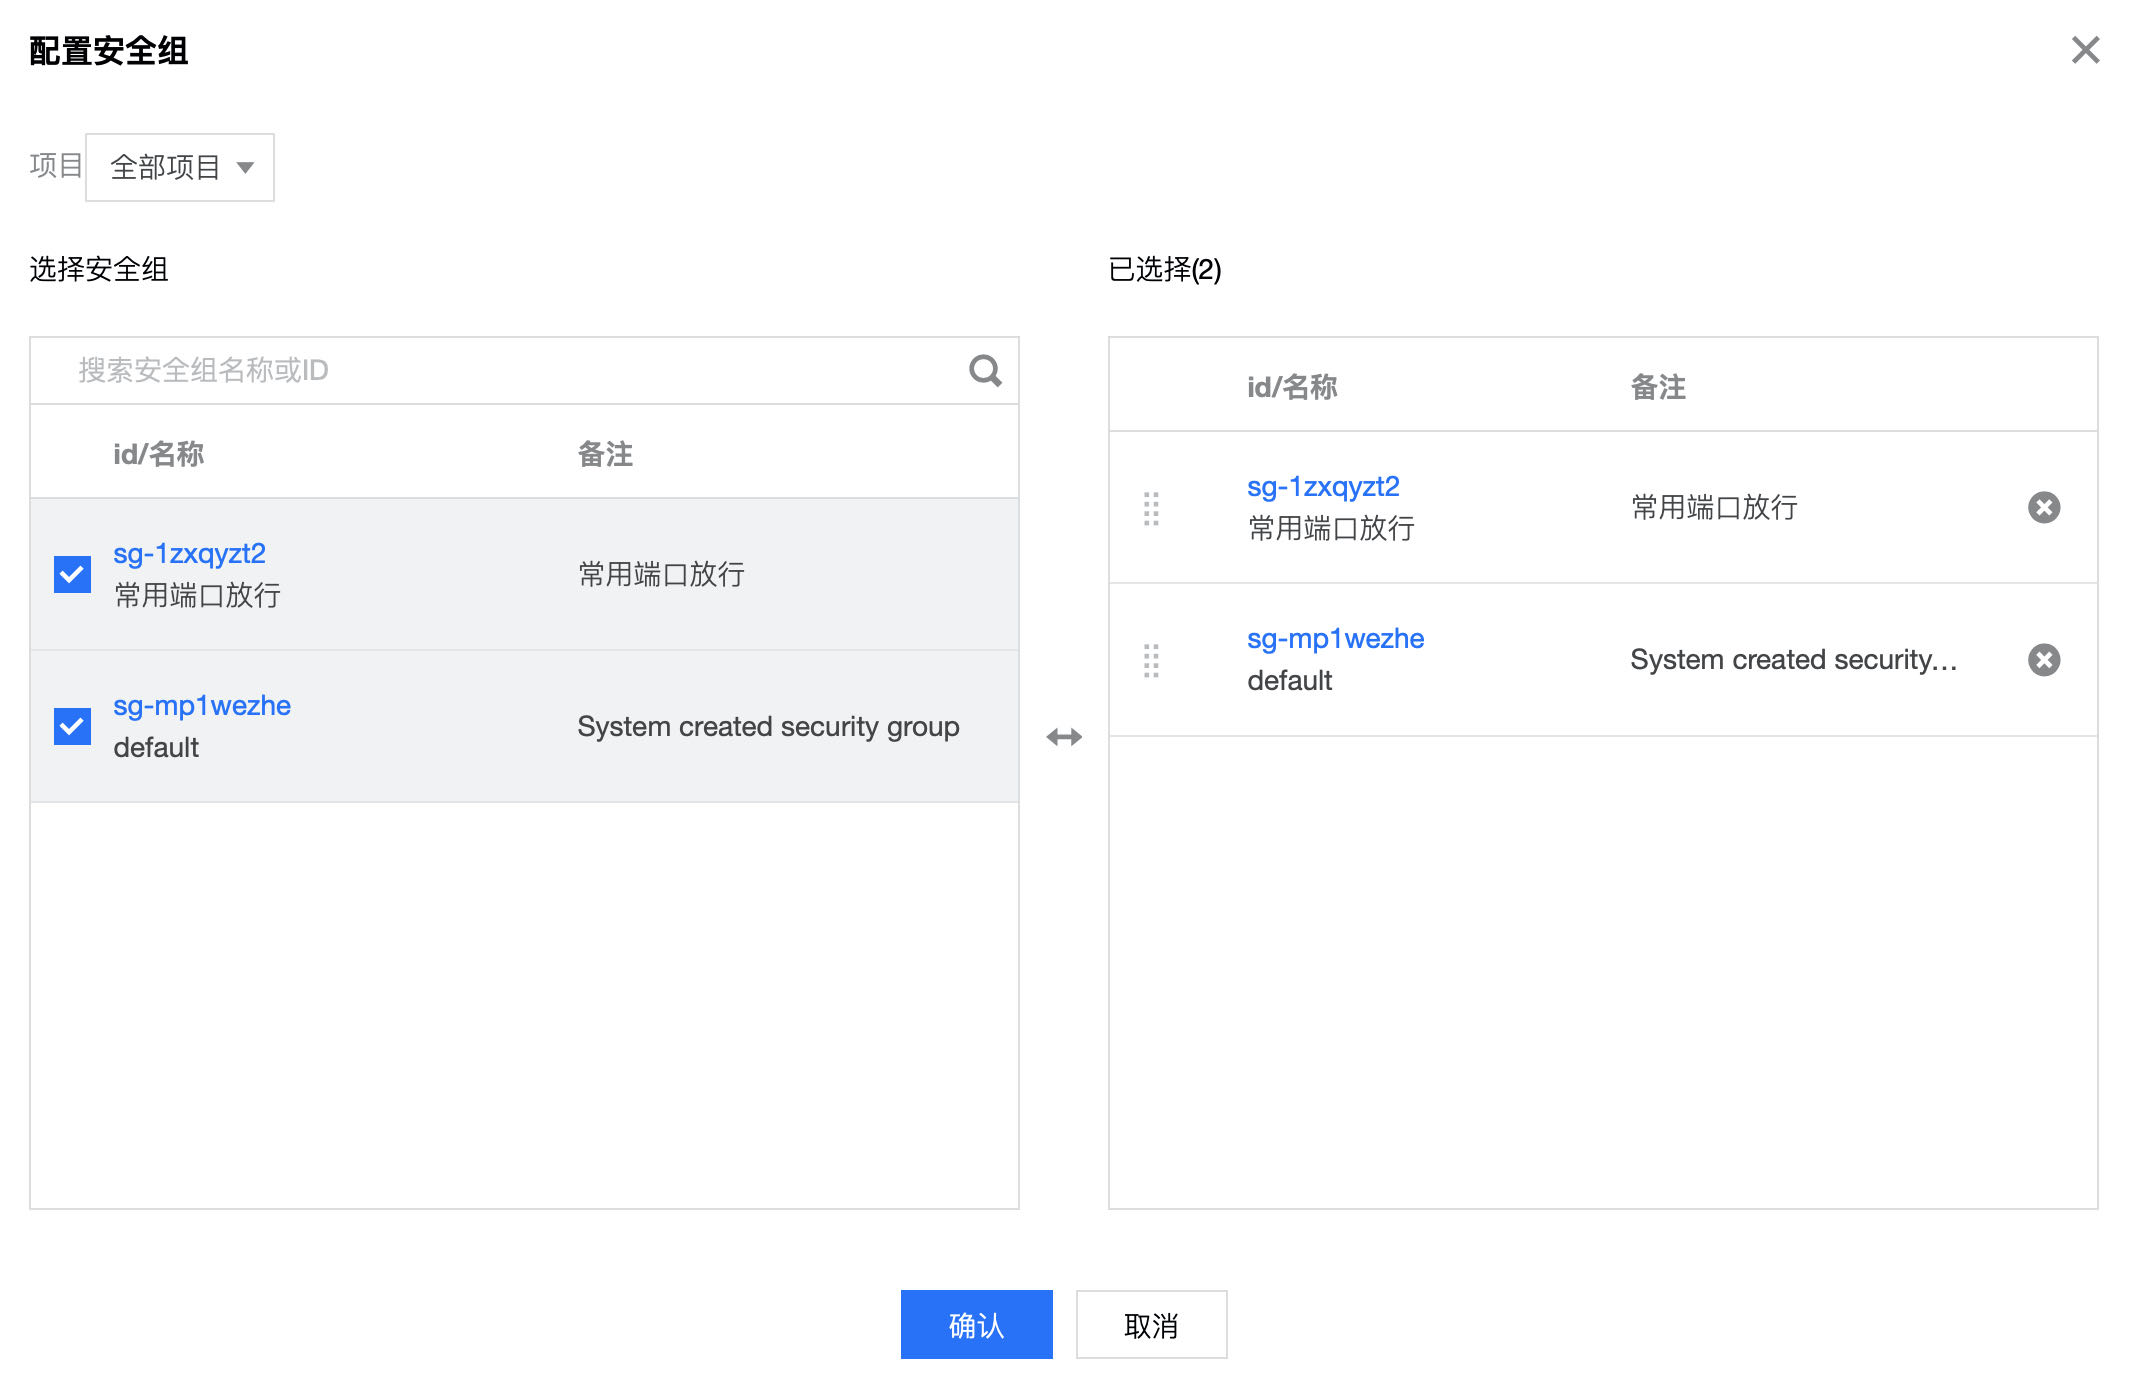
- 实例应用安全策略
安装配置 Nginx
- 安装 Nginx
1 | yum install -y nginx |
- 建立博客目录
1 | mkdir /root/hexo |
- 添加
/root/hexo/index.html用于检测配置 Nginx 是否成功
1 |
|
- 配置 Nginx 服务
1 | # /etc/nginx/nginx.conf |
- 使用命令测试一下配置文件是否正确
1 | nginx -t /etc/nginx/nginx.conf |
- 重启使设置生效
1 | nginx -s reload |
- 如果报错“nginx: [error] invalid PID number “” in “/run/nginx.pid””,执行如下命令:
1 | nginx -c /etc/nginx/nginx.conf |
- 访问博客地址测试是否成功
配置 Git 仓库
如果将 Hexo 博客部署到 GitHub Pages,需要在本地生成 html 文件,然后 push 到 GitHub 的仓库,由 GitHub 的服务器完成渲染。在我们的方案中,我们自己的服务器就代替了 GitHub 的服务器,所以本地生成的 html 文件需要通过 git push 到云服务器相应的文件夹中。
- 新建 Git 裸库
裸库和普通的仓库不同,它没有工作区,只用来同步用的,可以用来存放本地推送上来的文件。新建命令如下:
1 | git init --bare hexo.git |
注意这里的裸库的 owner 要和博客目录的 owner 一致,否则会在自动同步的时候遇到权限问题。
- 配置 Git hook
blog.git/hooks 中有很多 sample 结尾的文件,但是这些都是没有生效的。我们需要新建一个 post-receive 文件:
1 | vim hexo.git/hooks/post-receive |
这个文件中的脚本会监听这个 Git 仓库的每一次 push 事件,push 到这个仓库一次,里面的脚本就执行一次,里面的内容如下:
1 |
|
这个脚本的意思就是把 /root/hexo.git 这个仓库的分支同步到 /root/hexo 文件夹中,最后刷新 Nginx。
- 配置可执行权限:
1 | chmod +x hexo.git/hooks/post-receive |
配置本地 _config.yml 文件
- 回到本机的博客路径下(就是完成 hexo init 的文件夹)修改 _config.yml 文件:
1 | deploy: |
这里如果设置了 ssh 免密登录服务器,这个 push 就也是免密的。
- 部署
完成前面的配置后,在本地的博客路径下执行 hexo d -g 就会将文件 push 到自己的云服务器中了。
参考
在腾讯云上部署博客 | 个人博客